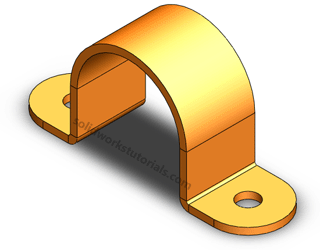
In this tutorials you will learn how to create U bracket sheetmetal.
1. Click New. ![]() Click Part,
Click Part, ![]() OK.
OK.
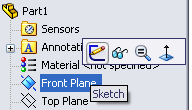
2. Click Front Plane and click on Sketch.
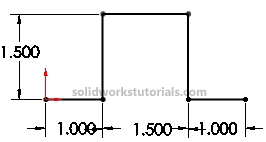
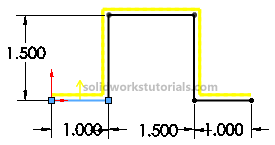
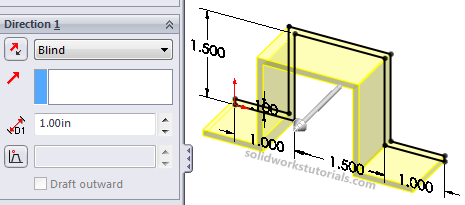
Use Line ![]() , sketch U shape. Dimension sketch with Smart Dimension
, sketch U shape. Dimension sketch with Smart Dimension  as 1in x 1.5in x1in and 1.5in height.
3. Click Offset Entities ![]() and click U sketch. Set offset distance as 0.1in, check Reverse box and OK.
and click U sketch. Set offset distance as 0.1in, check Reverse box and OK.
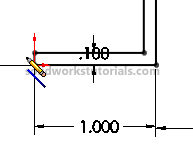
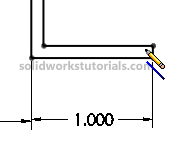
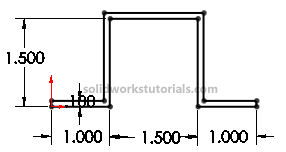
4. Use Line ![]() , sketch and connected open end of this sketch and make it close both end.
, sketch and connected open end of this sketch and make it close both end.
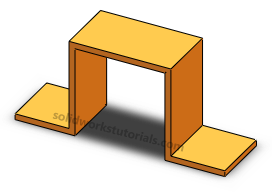
5. Click Features>Extruded Boss/Base  set D1 to 1in and OK.
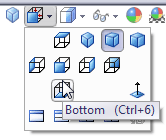
6. Click View>Bottom
click on bottom face and click Sketch.
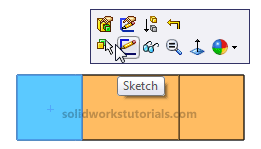
7. Click Circle ![]() and sketch 2 circle on bottom face each side. Use Smart Dimension
and sketch 2 circle on bottom face each side. Use Smart Dimension  to dimension this sketch as sketched below.
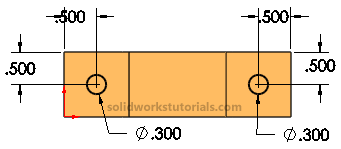
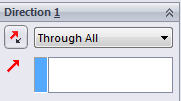
8. Click Features>Extruded Cut  and cut Through All this circle.

9. Click View>Isometric.

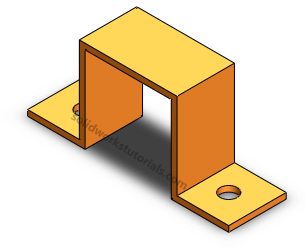
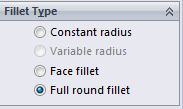
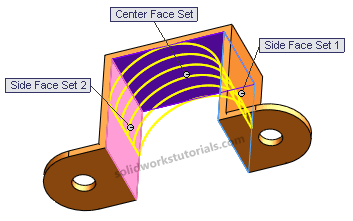
10. Click Fillet ![]() , check box Full round fillet.
, check box Full round fillet.
11. Click side left side face as Side Face 1.
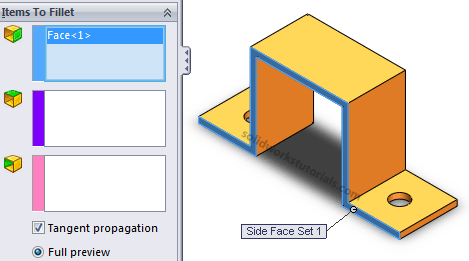
12. Click on purple box and click center face as Center Face Set.
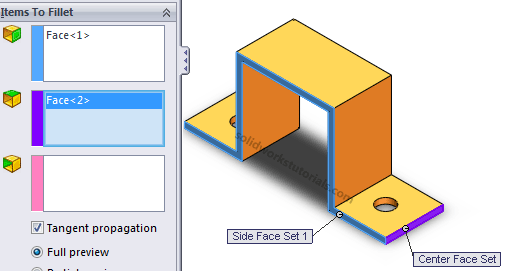
13. Click on pink box and click right side face as Side Face Set2 and OK.
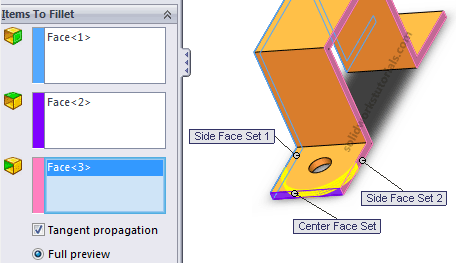
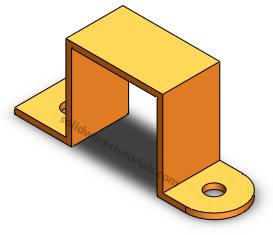
14. Repeat step 11 – 13 for the other side.
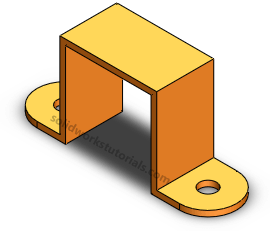
15. Repeat step 11 – 13 for inner face and outer face of U bracket.
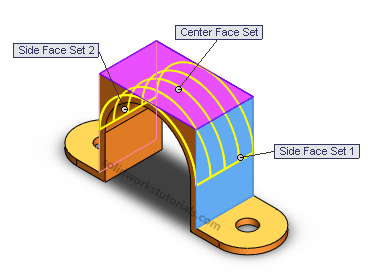
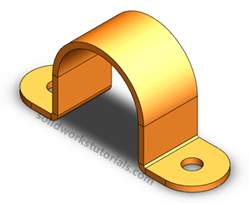
16. Click Sheetmetal>Insert Bends, ![]() click flat face as reference when it flatten. Set bend radius to 0.03in and K factor 0.5 and OK.
click flat face as reference when it flatten. Set bend radius to 0.03in and K factor 0.5 and OK.
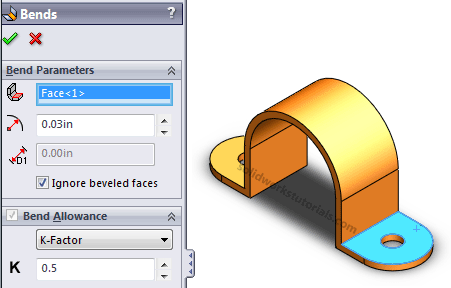
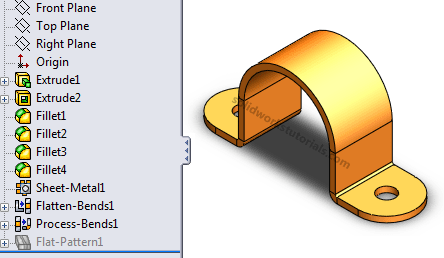
17. Your simple sheetmetal bend is ready. Look at part tree.
18. To view this part in flatten form click Sheetmetal>Flatten ![]() .
.
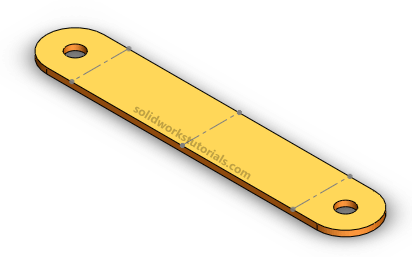
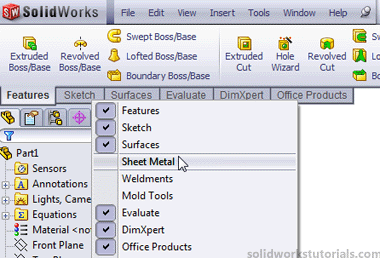
Have fun.. If you cannot find the sheetmetal tool in you main tool menu, you can right click on main menu tab and check Sheetmetal option.
